


2.5. Implementation of embedded system5445
2.5.1. Introduction to implementation of embedded system
Implementation of an embedded system Implementation of an embedded system is the process of converting an embedded-system design into a working physical system by combining hardware, firmware/software, sensors, actuators, power supply, and communication interfaces.
For example, an automatic street-light controller can be implemented using a light sensor, microcontroller, relay, and lamps.
Main stages of implementation
1. Define the requirements
First, determine what the system must do. For example:
- Detect whether it is day or night.
- Turn the lamp ON at night.
- Turn the lamp OFF during the day.
- Operate automatically.
- Arduino board/microcontroller
2. Select the hardware
- Microcontroller — Arduino, ESP32, STM32, PIC, ATmega328P, etc.
- Sensors — temperature, light, pressure, motion, etc.
- Actuators — motor, relay, LED, buzzer, valve, etc.
- Power supply.
- Communication modules where required.
3. Design the circuit
Connect the components according to the system requirements. This includes:
- Power connections
- Sensor connections
- Microcontroller connections
- Actuator-driver circuits
- Communication interfaces
4. Develop the firmware
Write the program that controls the microcontroller. The firmware normally:
- Initializes the hardware.
- Reads sensor information.
- Processes the data.
- Makes decisions.
- Controls the actuators.
- Communicates with other devices if necessary.
5. Build the prototype
The circuit is assembled on a breadboard, PCB, or development board. The firmware is then uploaded to the microcontroller.
6. Test and debug
Check whether each part works correctly:
- Sensor operation
- Microcontroller operation
- Actuator operation
- Power supply
- Communication
- Software logic
Any errors are identified and corrected.
7. Integrate the complete system
After testing individual components, all hardware and software components are integrated into one functioning system.
🎥 Watch the Video

You may also like

Nyereka Tech and Tumba College Explore Opportunities for Collaboration
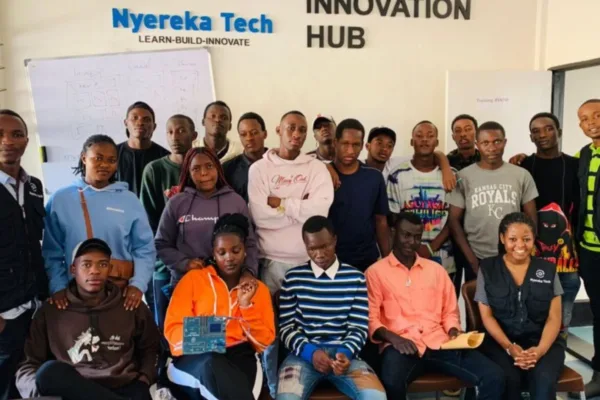
The Launch of our IoT Innovation Hub

Partnership with MakerSpace Kigali